Overview
eduPostal makes it easy to create direct mail letter templates that can be personalized and automated.
This is an overview of the design elements within the eduPostal Direct Mail Letter Editor. You will learn how to create a letter design and navigate the editor by adding text, changing fonts, adding images, personalization with variable data and much more.
You can use the letter templates designed in eduPostal with either a standard #10 white dual window envelope, or with customized envelopes (U.S. only at the current time) that you can design and order through eduPostal.
Table of contents
- Overview
- Document Size & Safe Margin
- Begin Designing Letter
- eduPostal Letter Editor
- Letter Design Walk-through
- Learn More About eduPostal
Document Size & Safe Margin
Document Size
8.5” x 11” Letter
| Guides | H x W (in) | H x W (px) |
| Safe Margin | 8.4375” x 10.9375” | 2531.25 x 3281.25 |
| Document Size | 8.5” x 11” | 2550 x 3300 |
| Background Image Specs | 300 dpi (Exactly, not higher or lower) | 2550 x 3300 |
| Address Area | 2.35” x 4.32” | 705 x 1296 |
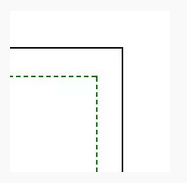
Safe Margin
Keep all text within the dotted green line boundary to ensure everything gets printed on the letter
Bleed
The Bleed is the exact dimension of all background images in eduPostal. It is the portion of your design that you extend past the “trim” or “cut” lines of a printed piece. This is done to ensure that you don’t end up with white lines on your mailpiece due to slight variances in the printing process.
Bleed is the black line in the background of the editor.
Begin Designing Letter
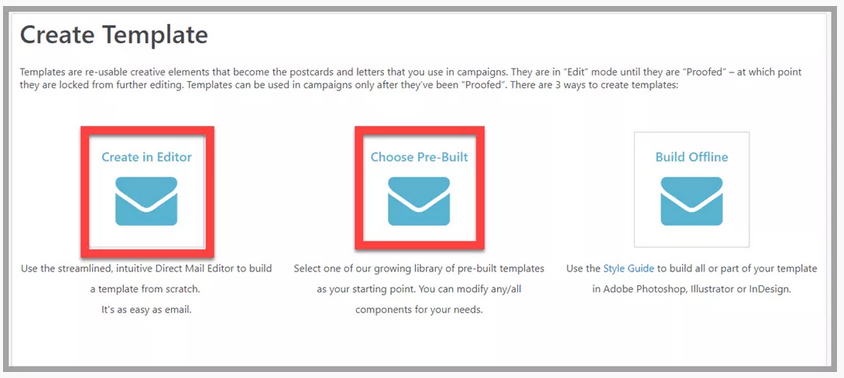
In the eduPostal application, from the Creative drop down menu, select New Template. You can choose to create direct mail letter templates from scratch in the Editor or Choose Pre-Built Templates. If you choose a Pre-Built template (created by a professional designer), you can pull one into the editor and use the tools in the rest of the article to modify it to your needs.
Learn more about Pre-Built Templates
We’ll create direct mail letter templates in the Editor to start. To begin, select Create in Editor.
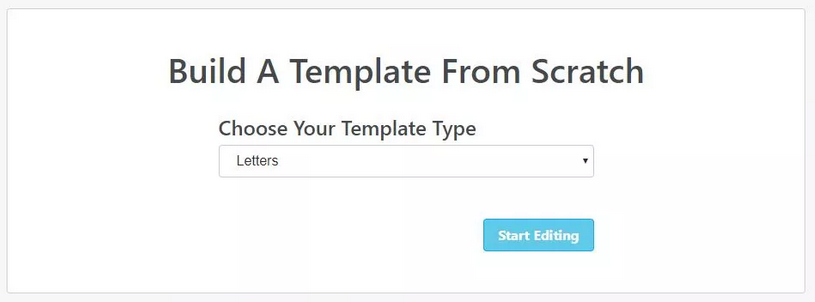
Build Template from Scratch
Complete the steps to start creating your new template. Select Choose Your Template Type and select Letter.
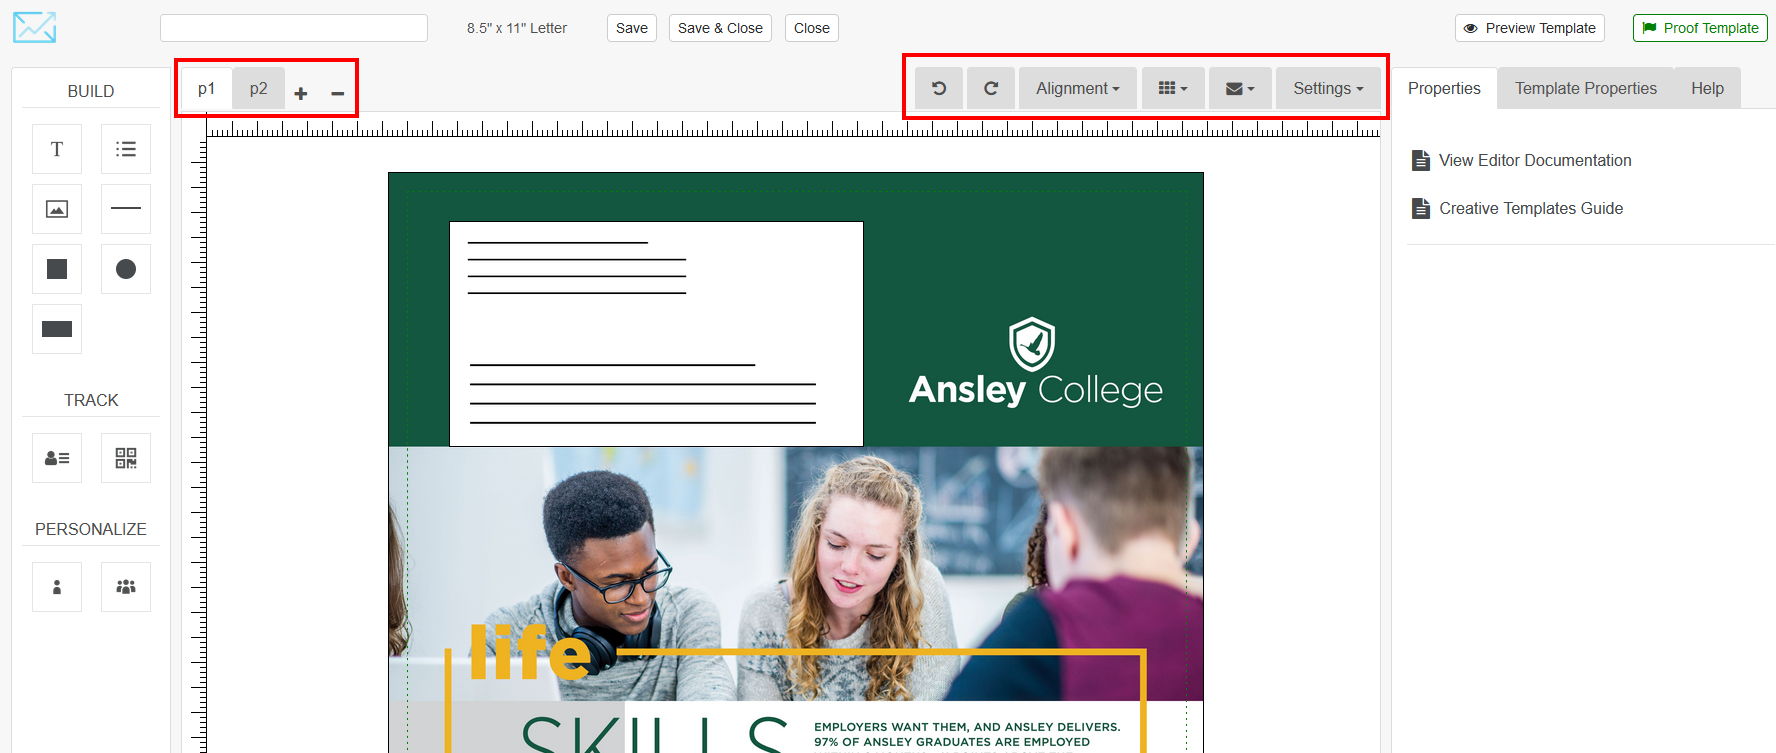
eduPostal Letter Editor
Let’s do a quick run through of the features. The middle area of the editor is where you will design and build your letter, we call this the canvas.
The dotted green line is the safe margin. Keep all text, shapes, and images that are not meant to abut to the edge within this boundary.
The tab along the top left indicates you are working on a page 1 of the letter design. You can add or subtract pages using the + or – functions next to the page number. Each page that you add after page 1 has an extra expense. They also will not include the postage areas, giving you more creative room. You can also choose to print either individual pages or front/back.
The tabs along the top right of the letter canvas are:
- Undo
- Redo
- Alignment
- Snap to Grid
- Hide/Show Postage Area Toggle
- Settings (Doubled Sided Printing Option For Multiple Pages)
Multiple Pages
With eduPostal, you can create direct mail letter templates that can print up to 6 physical pages that are folded and inserted into the envelope.
You have an option to include content on the front of the pages you print, or on the front and the back (Settings/Double Sided) – thus giving you up to 12 pages of total content.
It is simple to add, subtract and toggle between the pages.
Naming Template
The top of the editor is the area to Name Your Template, Save, Save & Close, and Close. When selecting Close, be aware that no changes will be saved. Always save your work.

Build and Track Panel
To the left of the canvas is the Build, Track, and Personalize Panel. Here, you can click and drag the icons onto the canvas. The only exception is the Variable Data icon, which is a select option, not a drag and drop.
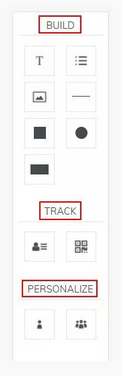
Build
Features include adding:
- Text
- Bullet List
- Images
- Horizontal Line
- Squares, Circles
- Rectangles
Use the elements by clicking and dragging to the canvas.
Track
Features include adding a Personalized URL(pURL) and QR Code.
Select your tracking method and click and drag to the canvas. Position the tracking to your preference and make any necessary adjustments to meet your creative goals.
Personalize
Features include adding Variable Data and Variable Logic.
Variable Data personalizes your template with data such as “First Name” which is derived from an imported list.
Click and drag a text block to the canvas using the T icon. Double click the text block. Go to the Personalize Panel and click on the Variable Data icon. Under Available Variable Data Inserts select First Name. “%First Name%” should populate in the text block.
Variable Logic also creates personalization from your list.
Click and drag the Variable Logic icon to the canvas. Double click on the text block. Fill in the appropriate logic fields for your campaign, then click Insert. Once the Variable Logic is completed, click Update.
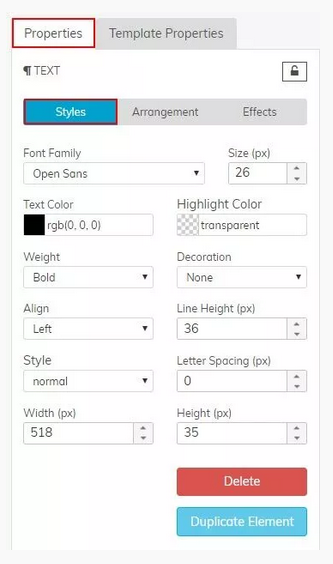
Properties Panel
To the right of the canvas is the Properties Panel. When you are not actively using the editor, this panel will display helpful editor tips if you get stuck.
Styles Tab
When an object or text is selected on the canvas the Properties tab displays, allowing you to toggle between the Styles, Arrangement, and Effects tabs.
The Styles tab allows you to adjust:
- Font Family
- Font Size
- Text Color
- Highlight Color
- Weight
- Decoration
- Alignment
- Line Height
- Style
- Letter Spacing
- Width
- Height
This is also where you can Delete or Duplicate the element on the canvas.
Arrangement Tab
Use the Position arrows or Top (px) and Left (px) to move text blocks, images, or shapes on the canvas.
Arrangement buttons Forward and Backward allows you to adjust how a text block, shape, or image is layered on the canvas. You can choose to move the element up or down a single layer (middle buttons) or all the way to the front or rear (end buttons).
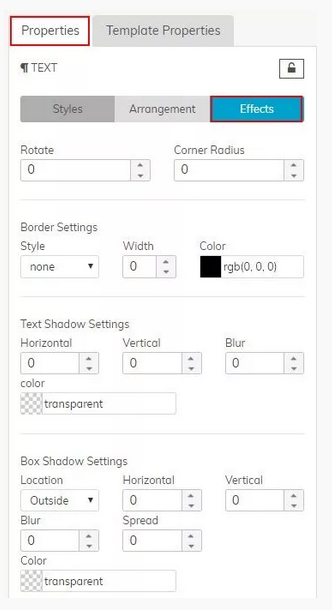
Effects Tab
Effects provide more advanced features for creative development:
- Adjust text blocks, images and shapes using Rotate, Corner Radius
- Border Settings: (Style, Width and Color)
- Text Shadow Settings (Horizontal, Vertical, Blur and Color)
- Box Shadow Settings (Location, Horizontal, Vertical, Blur, Spread and Color)
Template Properties Panel
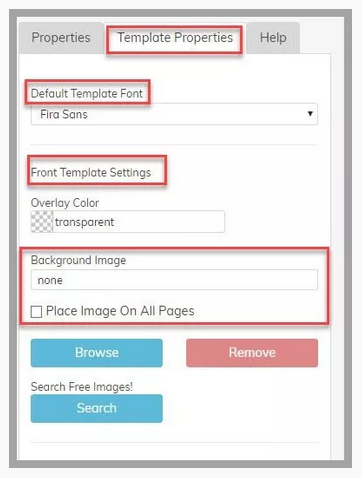
Default Template Font
By changing the Default Template Font, the Direct Mail Editor will apply the single font change to the entire mail piece rather than changing each text block individually.
Front Template Settings
Overlay Color allows you to select a color and apply a transparency to give your background image a color effect. Sometimes using overlay colors can help darken the background image to improve readability of text over images.
Background Image
It is easy to add a background image that contains images, designs, logos and text. Just be sure to design around the Address Area on the first page of the letter. You can upload images to the Asset Manager at any time.
Letter background images must conform to the following specs: Width = 2550px, Height = 3300px, 300 dpi. Please remember that if the dpi is higher or lower, even if the height and width are correct, your image may not upload, or render properly.
Add a background image by selecting Browse (to choose images from the Assets that you’ve uploaded) or select Search to look through a library of over 200,000 high resolution free photos. You also have the option to place the background image on all pages for multiple page letters.
Search Free Images
In the search feature, search keywords of images you are looking for. When you see an image you like, select Preview or Select.
Preview will show the full size image and Select will import the photo onto your canvas.
*IMPORTANT* When using the free image search tool, we recommend downloading the image and resizing to the appropriate template size. Then, upload the image back into eduPostal. For this instance the background image measurements are 8.5 x 11 inches or 2550 x 3300 pixels.
Preview and Proof Template
An important part of the process of creating a letter template is the method of previewing and proofing.
Preview Template provides a PDF download to get a closer look of how the finished product will look. This is a great tool to use throughout your design process.
Proof Template also provides a PDF download in addition to importing sample data or data from your list to populate the letter’s variable fields to see how the finished product will look.
The Proof Template is an extremely important feature that needs to be completed before using the letter design in a campaign.

Letter Design Walk-through
Once you become comfortable using the editor, start designing and let your creativity soar!
Follow this editor walk-through to learn how to create a letter design from scratch.
Step 1: Name Letter
Rename your letter to “Letter Introduction” in the top left of the editor.

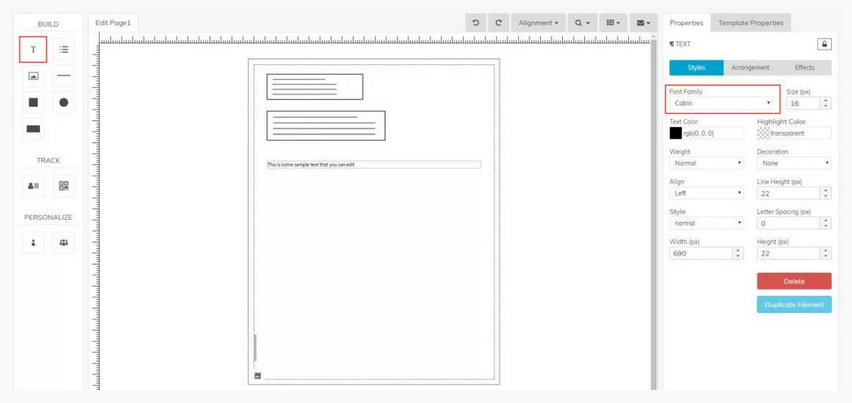
Step 2: Select Font
Create a text block by dragging the T icon from the left Build panel to the canvas.
Click the text block and on the left properties and styles panel, browse through the list of fonts to determine what to use. For this walkthrough, select the font Cabin.
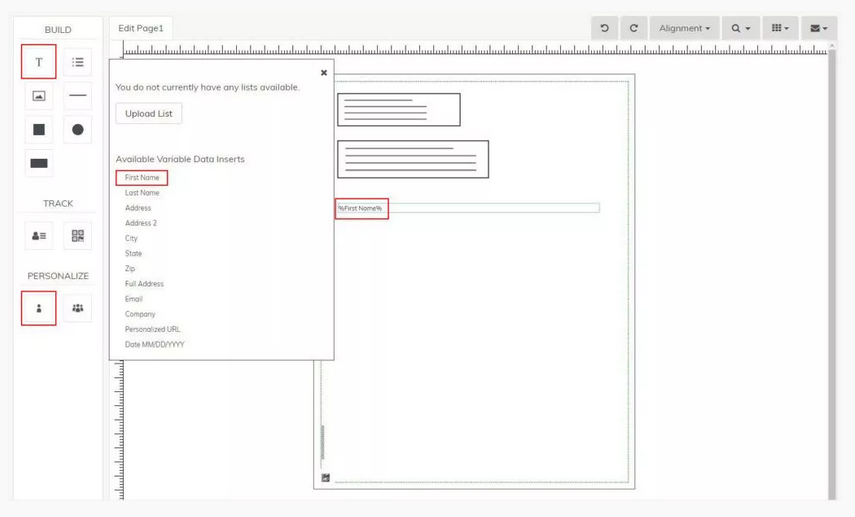
Step 3: Add Variable Data
Double click the text block, highlight and delete the sample text, go to the left personalize panel, click the variable data icon, and under “Available Variable Data Inserts” click “First Name”.
“%First Name%” should populate in the text block on the canvas.
Learn more about using personalization with Variable Data.
Step 4: Write Letter Content
Create a new text block. Change the font to Cabin. Write in your desired content for the letter.
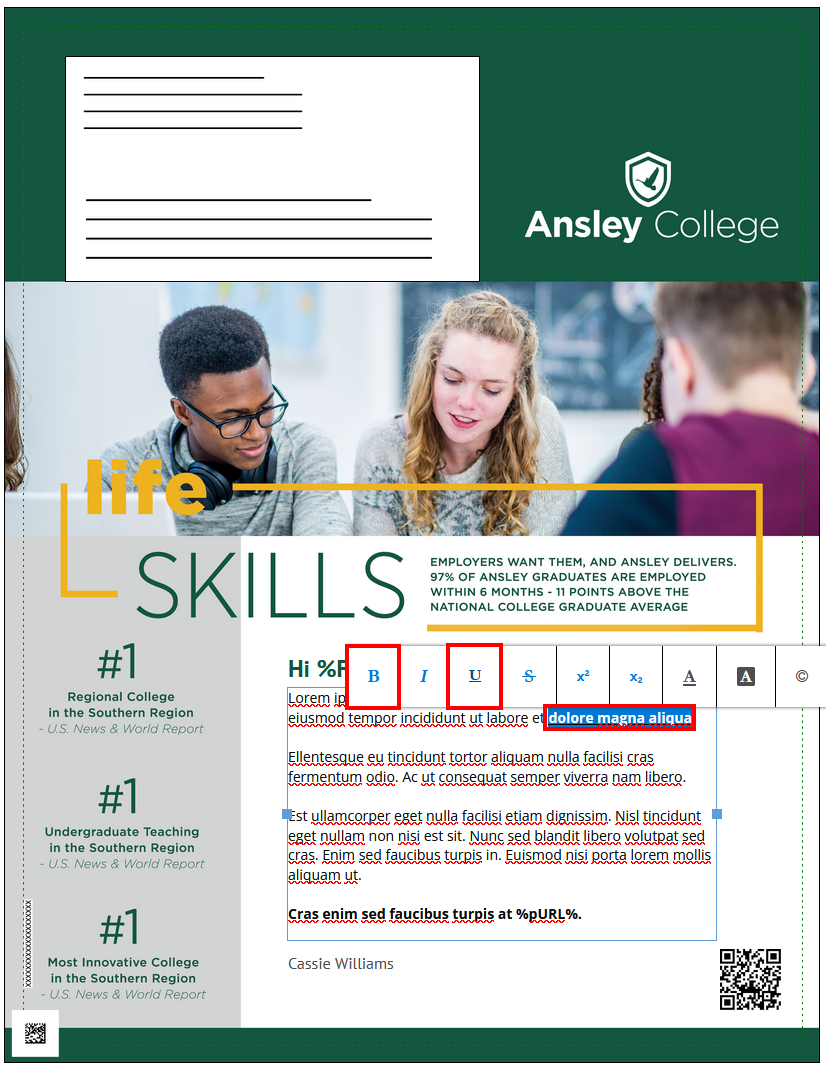
There are many text element tools to enhance readability including bold, underline, italic, and bullet points.
To use these features, simply double click the text block, highlight the particular words to emphasize.
A pop up window will appear to adjust:
- Bold
- Italic
- Underline
- Strikethrough
- Change Word Color
- Add Special Characters
- Change Text Size
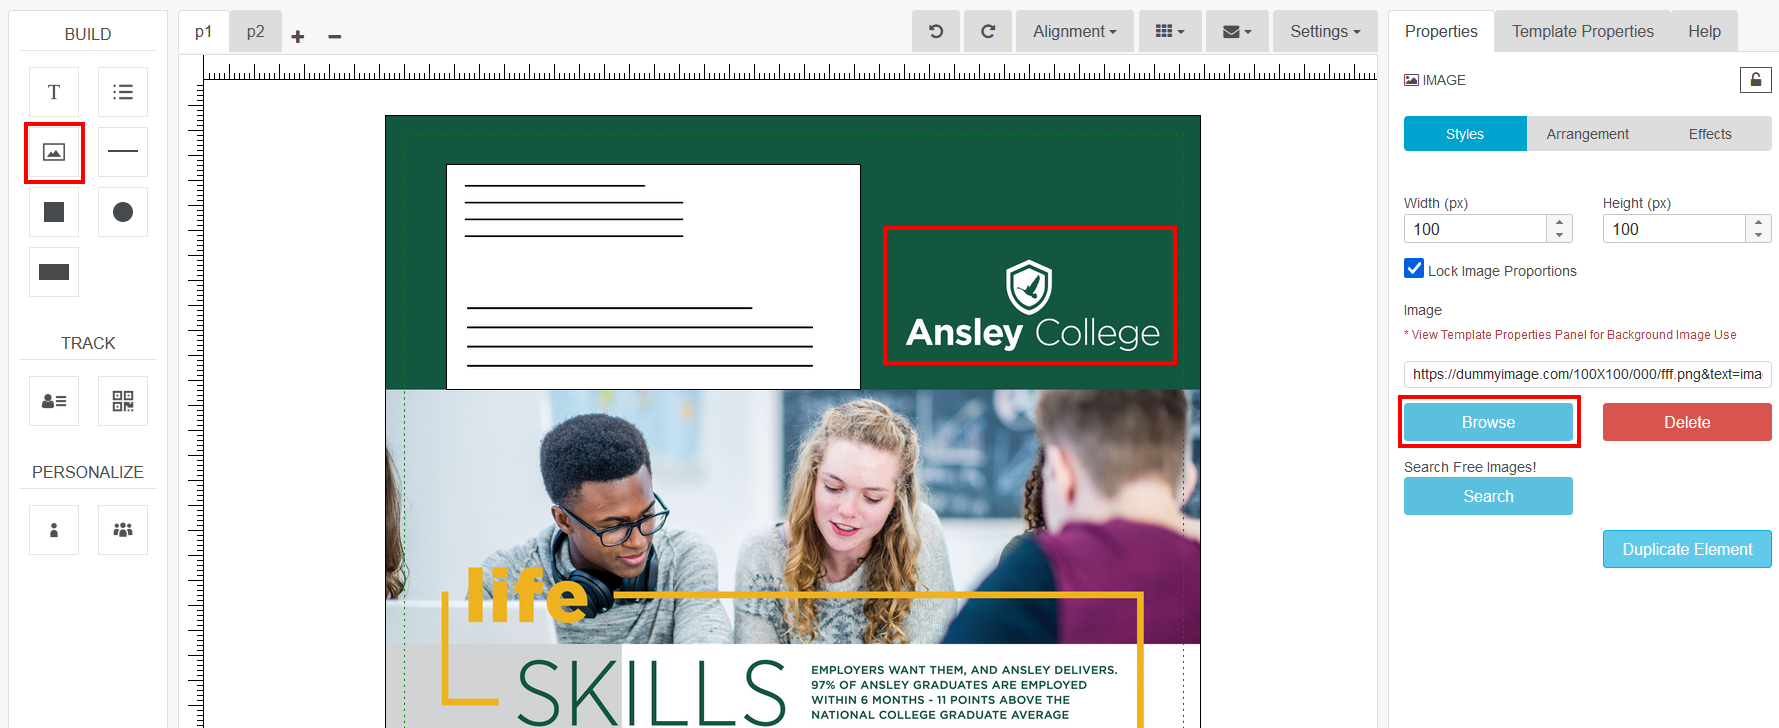
Step 5: Add Images
To add an image, click and drag the image icon from the left build panel.
Select the image block on the canvas, which then populates the left properties panel, select Browse and upload an image of your choosing.
You can upload an unlimited number of images into the eduPostal Asset Manager, and then use them over and over again.
Images should be in either .jpg or .png format, set at 300dpi for best print quality.
See our “Build Offline” article for more information on how to export images from Adobe® products.
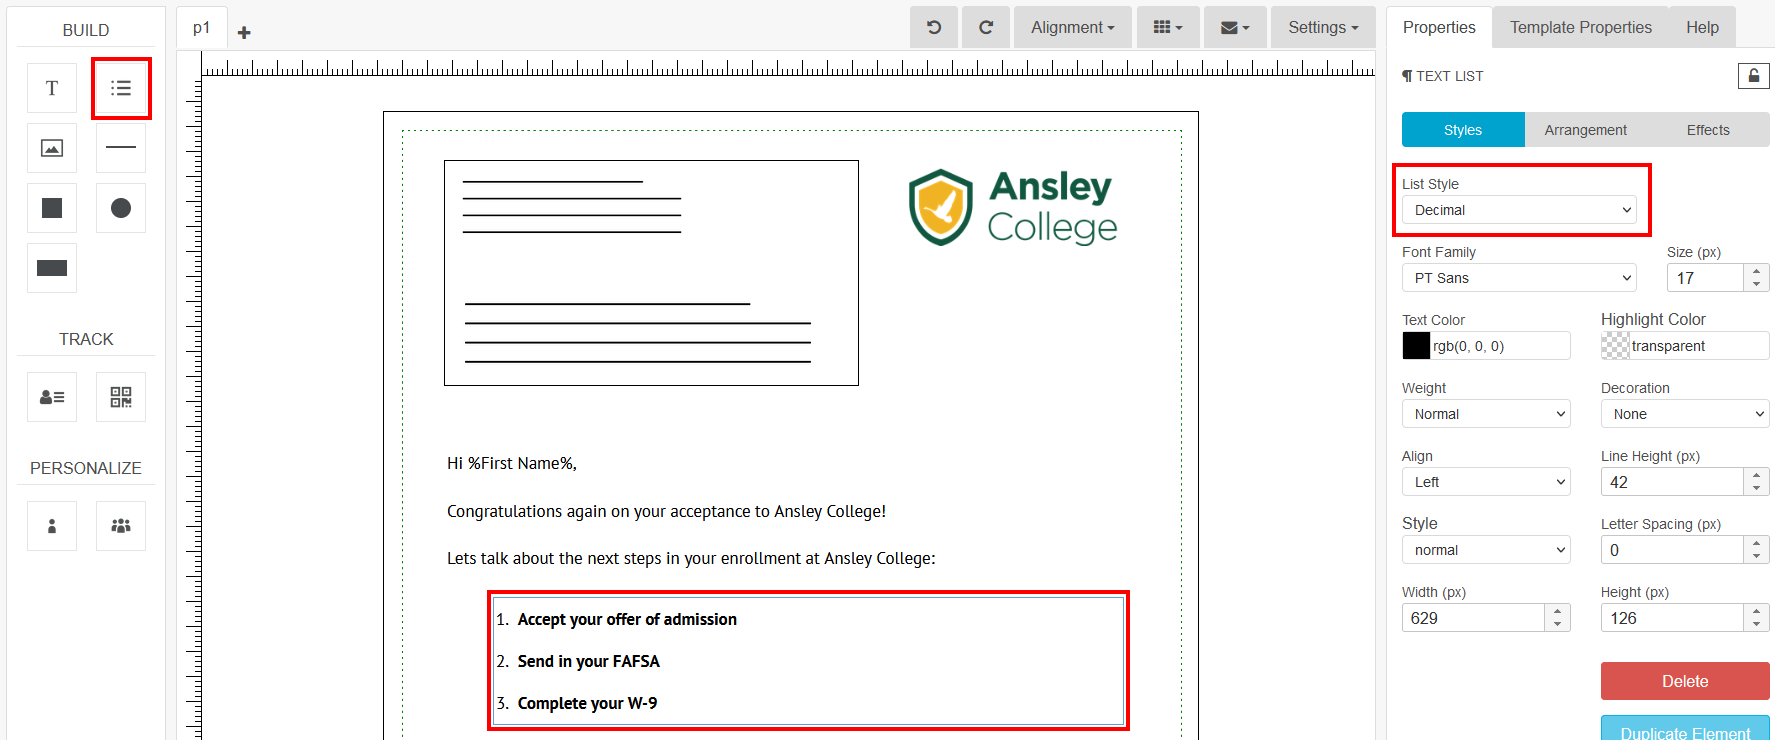
Step 6: Add Bulleted List
There are two ways to add a bulleted list.
First, you can simply click and drag the bulleted list icon from the left build panel to the canvas.
When using this method, the properties and styles panel populates and allows you to choose the “List Style”.
You can choose from different bullet point styles:
- Circle
- Disc
- Square
- Decimal
- Decimal Leading Zero
- Lower Alpha
- Upper Alpha
- Lower Roman
- Upper Roman
Use the styles panel to format your text size, color etc. accordingly.
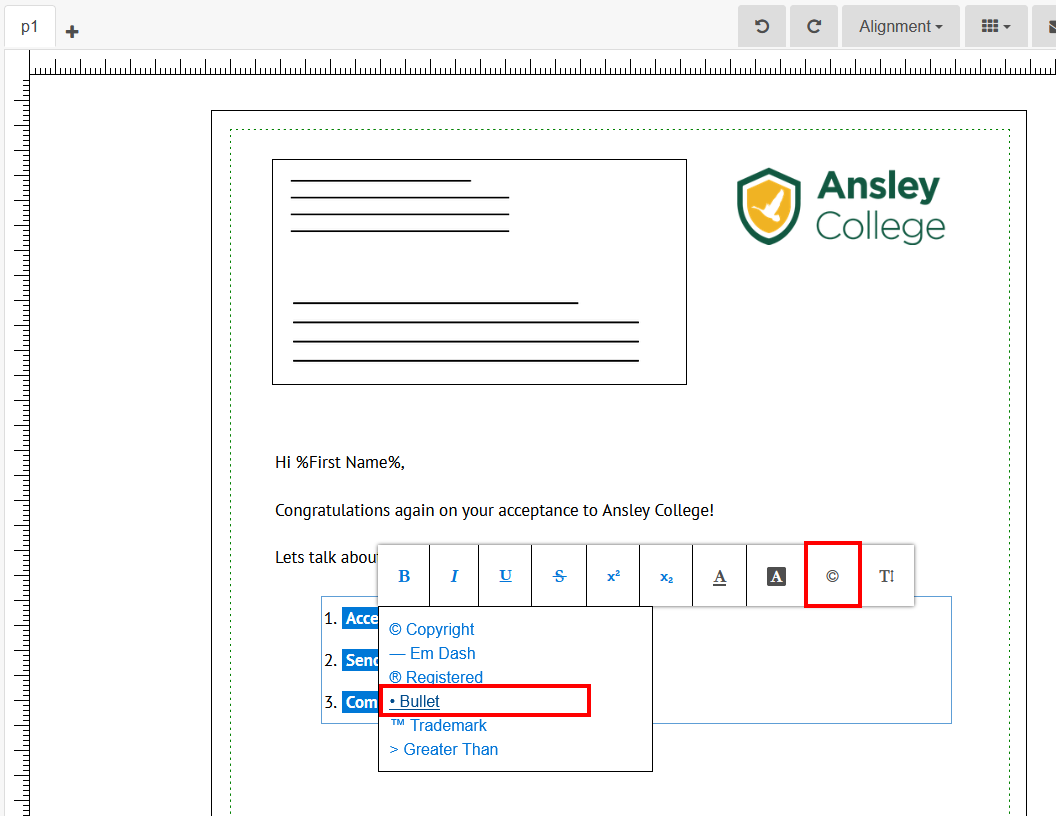
Second, you can create a bulleted list by double clicking your text blocks on the canvas, and then double click and highlight the section you want to add a bullet list. This will populate the individual text element editor.
Select the copyright symbol to open additional special characters. Select “Bullet”. This allows you to create a bulleted list without having to create a new text block.
Example 1
Example 2
Step 7: Add pURL
eduPostal has great tools to enable the online tracking of your recipients – both pURLs and QR Codes. With both features, your audience will be directed to the landing page of your choice after they’ve been identified with a unique URL for the mailer they received. eduPostal makes this tracking easy, it is an option with every letter or postcard template you create.
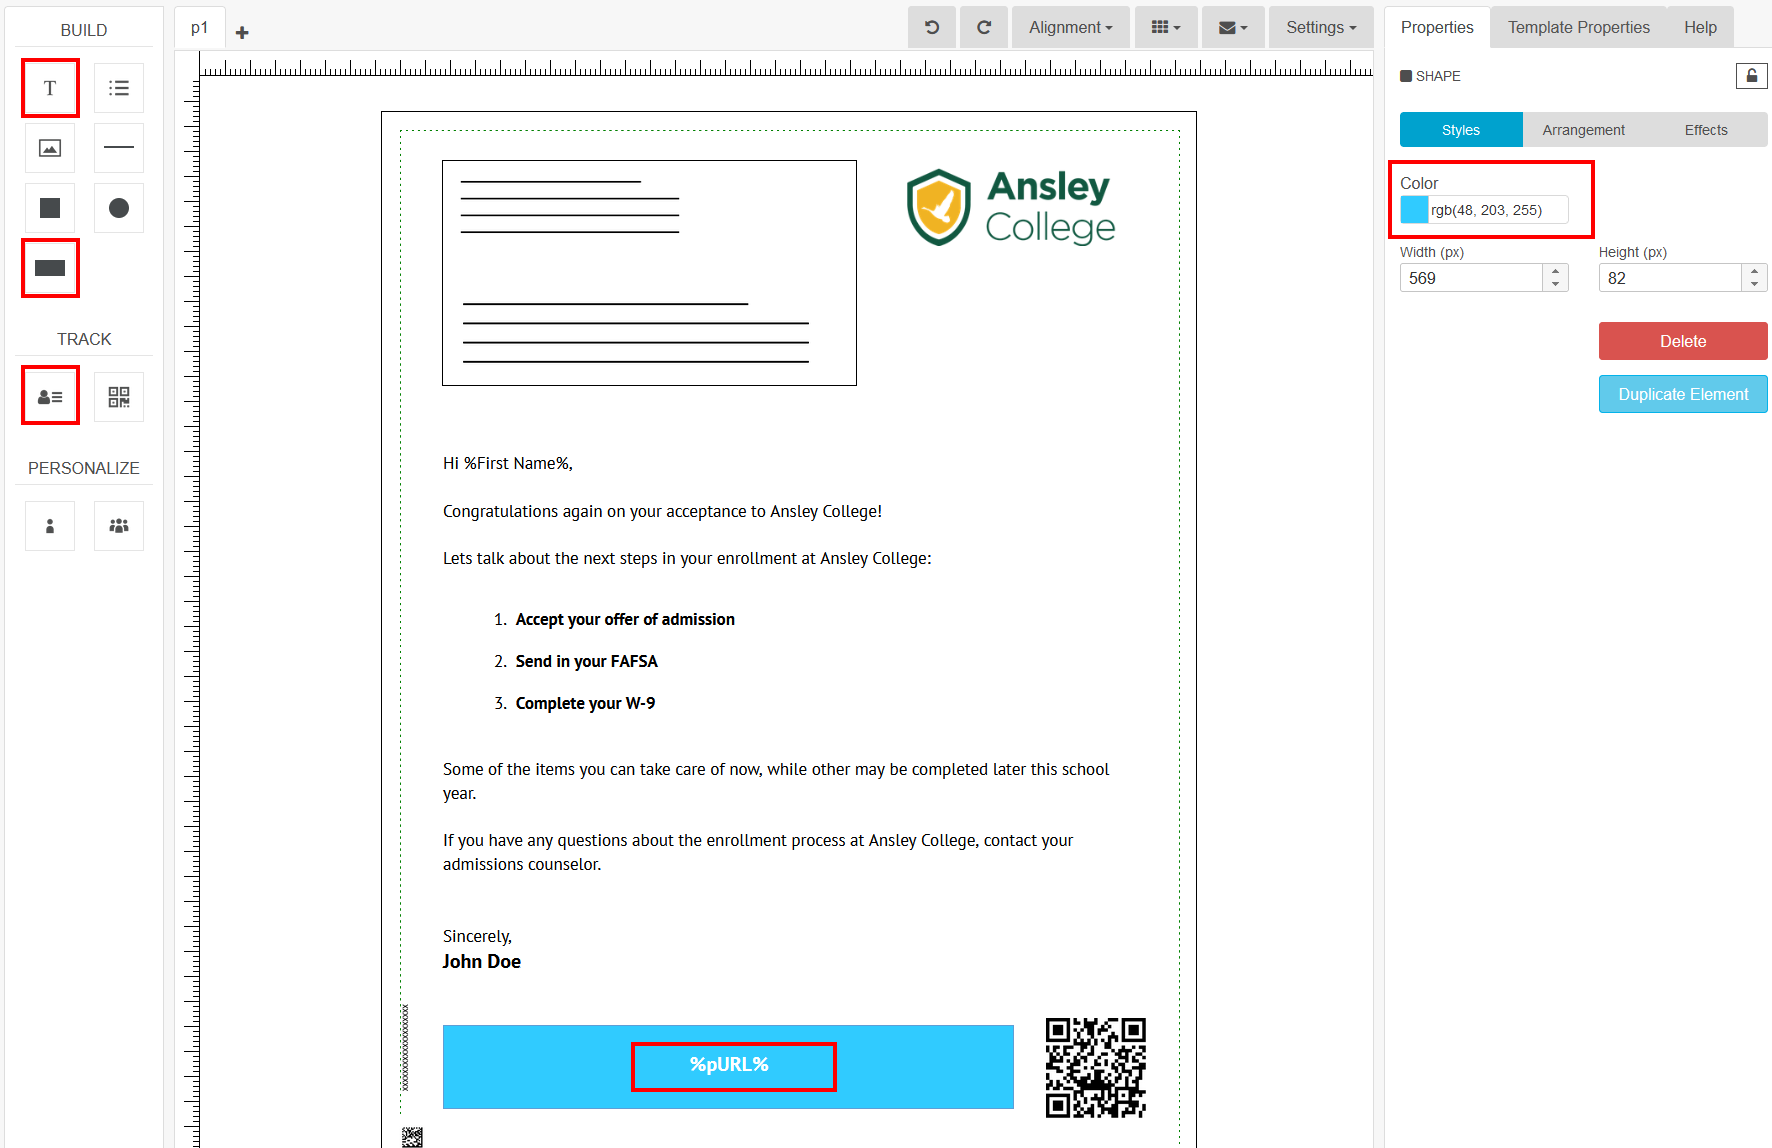
There are two ways to add a pURL. You can simply click and drag the pURL icon from the left Track panel to the canvas, then format the text to your liking.
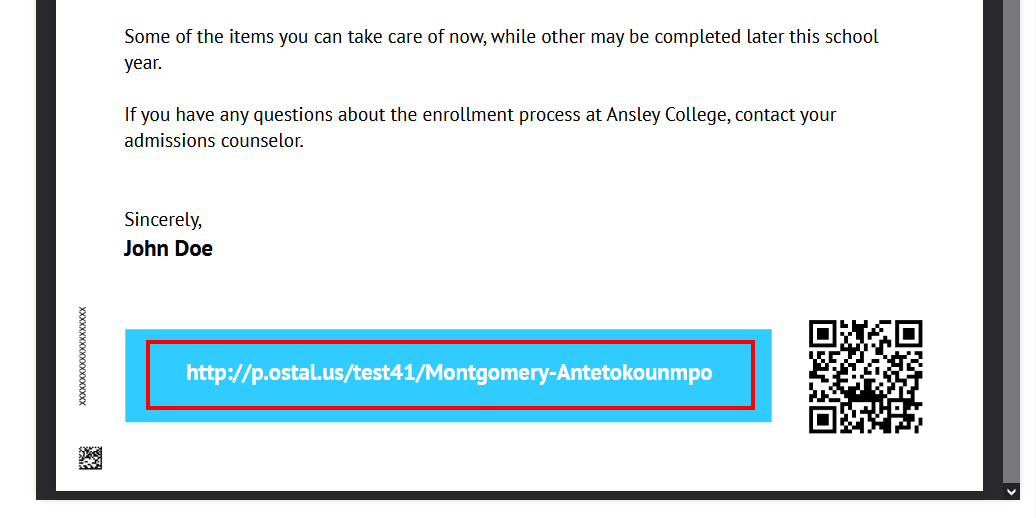
Similarly, you can click and drag a text block to the canvas, then write in the variable input “%pURL%”.
You’ll see that I created a blue rectangular box to highlight the pURL. To do this, simply click and drag the rectangle icon from the left build panel to the canvas.
Using the right properties and styles panel, change the color and size of the rectangle.
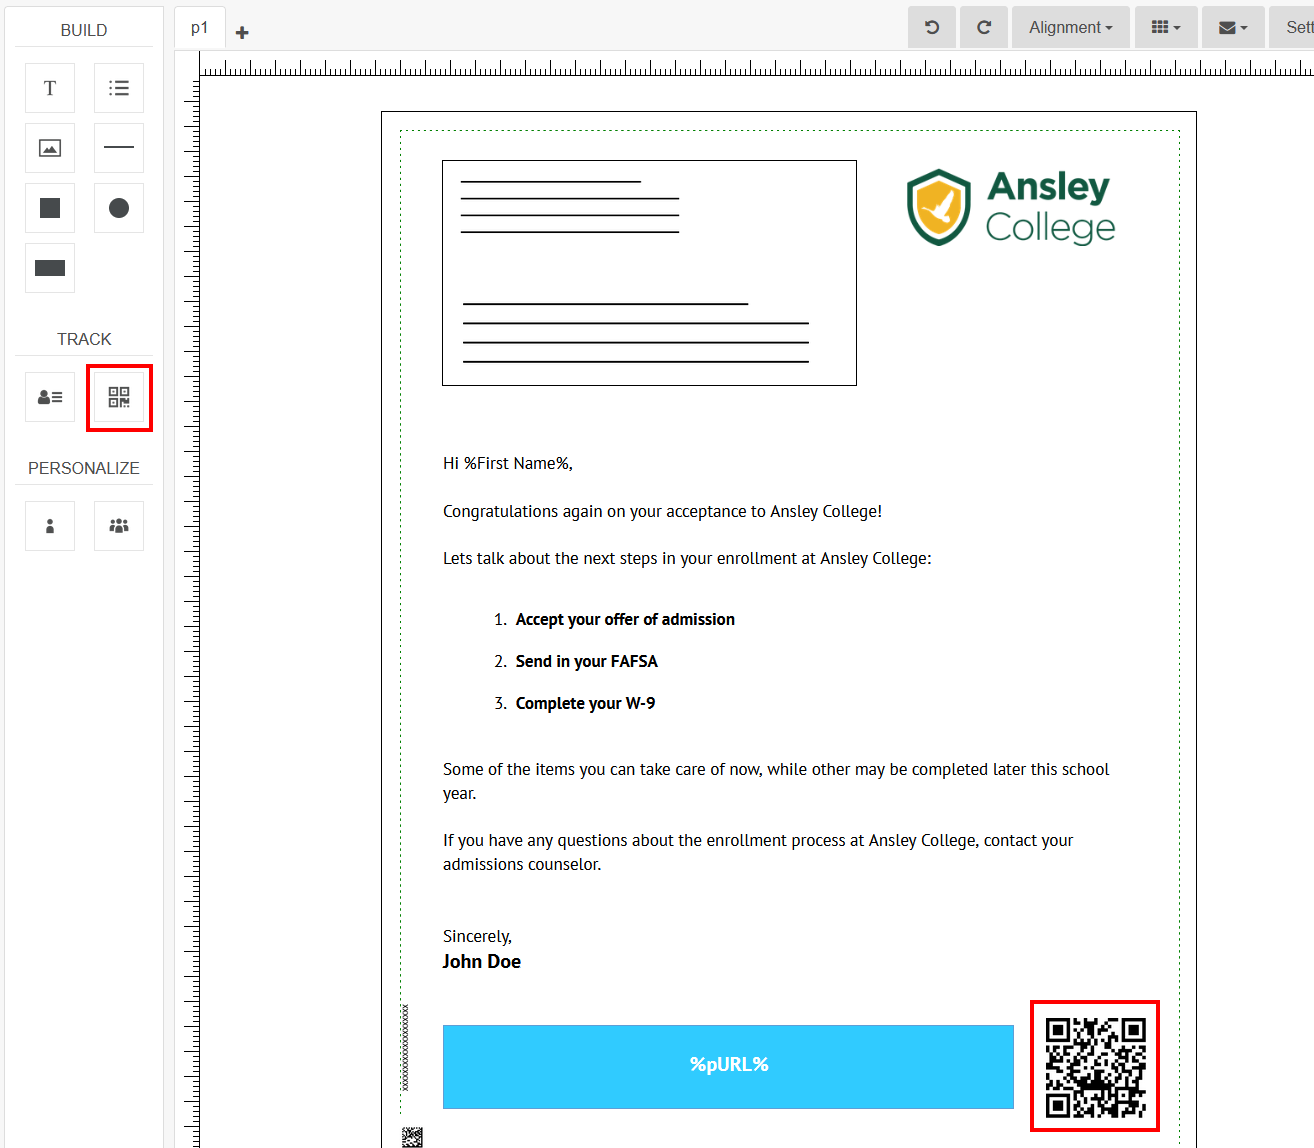
Step 8: Add QR Code
QR Codes can make it easy for recipients to hop online and view your content.
In eduPostal, QR Codes will automatically open a pURL, or a unique tracking URL, generated for each mailpiece in your campaign. The mailpiece recipient is automatically redirected to a landing page of your choice that you indicate in the campaign wizard.
To finish, drag the QR Code icon from the the left Track panel to the canvas and adjust the size by double clicking the element, the blue positioning boxes appear, hold the Shift key, and drag the corner blue box to the size needed.
Step 9: Begin Proofing Template
To use your finished design in a campaign, select the red Proof Template button in the top right corner of the editor.
A pop up window will appear asking to use Sample Data or Your Data to populate the variable fields in the template.

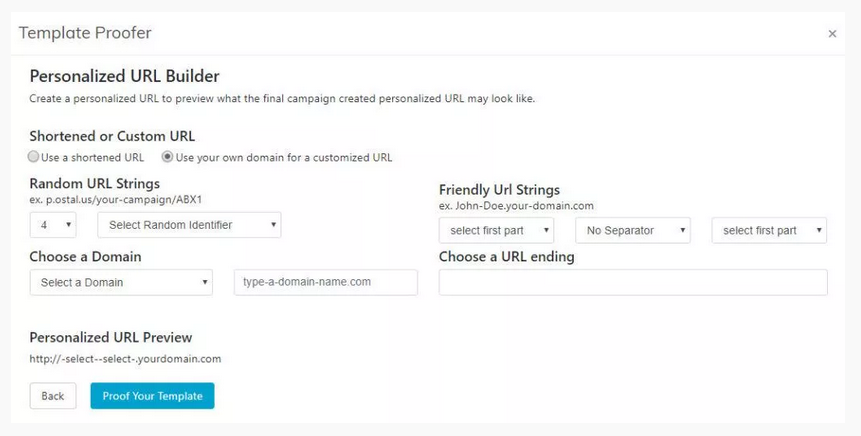
Step 10: Setup pURL
A window will appear with steps to build a personalized URL(pURL) that will populate in the proof to preview how it will look.
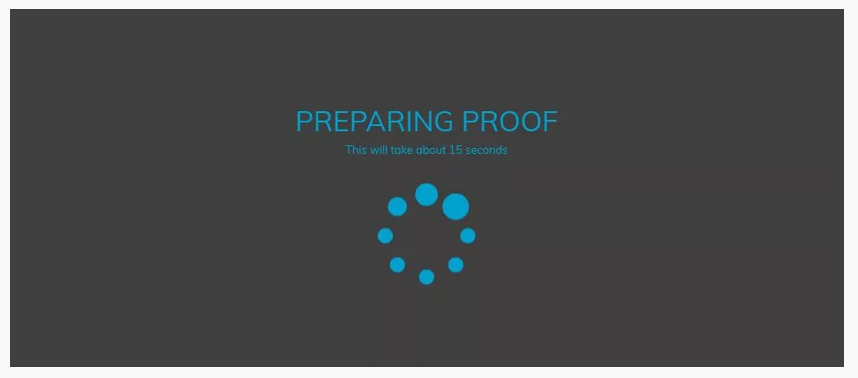
Step 11: Wait for Proof to Generate
The editor now prepares your proof for viewing. This allows you to see the variable fields populated and download the proof for closer viewing.
Step 12: Review Proof, Download, and Share
If you’d like to share the proof (download and email for comment or approval, or post on social media), click the Share button.
When satisfied with the proof select Save Final Proof & Close or select Continue Editing if further adjustments need to be made.
*It is extremely important to review how variable data populates in your proof. Each variable has different character lengths so please map out an appropriate area on your design to accommodate the longest First Names, pURLs or other types of data used.
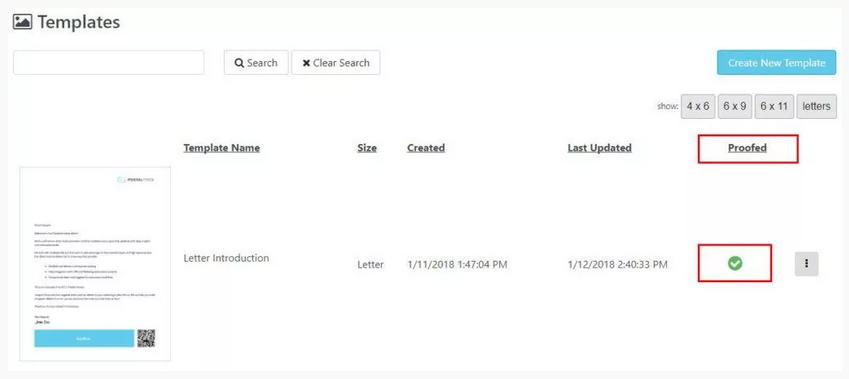
Step 13: Template is Now Ready to be used in a Campaign
After selecting Save Final Proof & Close, in the View Templates window you will now see a green check mark under the Proof column.
In addition, your finished template will now appear when going through the steps of Creating a Campaign.
Once your templates are proofed, they can be used in a eduPostal Smart Send or Workflow Drip campaign. If you have any questions on how to create direct mail letter templates in eduPostal, don’t hesitate to Contact Us.
Learn More About eduPostal
We love talking with clients, partners and marketers of all types about how eduPostal can be used to solve problems and build great campaigns. If you’d like to talk with us about our pricing or any other part of eduPostal – please reach out!