eduPostal makes it easy to trigger direct mail from eduCRM Automations. Now, marketers can send individual pieces of direct mail (letters or postcards) without human intervention, 24×7. After a little bit of setup, direct mail is printed, mailed and tracked when conditions in eduCRM trigger eduPostal.
eduPostal uses the eduCRM CX Apps feature to automatically enable your Triggered Drip Campaigns to be accessible within eduCRM Automation.
Create A eduPostal Triggered Drip Campaign
To get started, you’ll need to create a eduPostal Triggered Drip Campaign, using the Triggered Drip Campaign Wizard. Start from the top menu navigation: Campaigns > New Campaign > Triggered Drip > eduCRM. The Wizard will walk you through each step in creating the campaign.
Be sure to name your campaign something that will be recognizable and make sense to work with the automation that you’re building in eduCRM.

Triggered Drip Campaign “Test Mode“
When you complete your Triggered Drip Campaign, it will automatically be placed in our unique “Test Mode” status. This enables you to trigger test contacts from eduCRM that will generate PDF only mailers. The PDF’s are fully formed mailers that ARE NOT actually sent to the print/mail network and do not cost you any direct mail credits to use.
You can trigger as many contacts as you wish with the campaign in Test Mode. You can also toggle between test mode and live mode as often as you’d like, in case you need to modify your automation after it is published (or modify the template being used in the campaign).
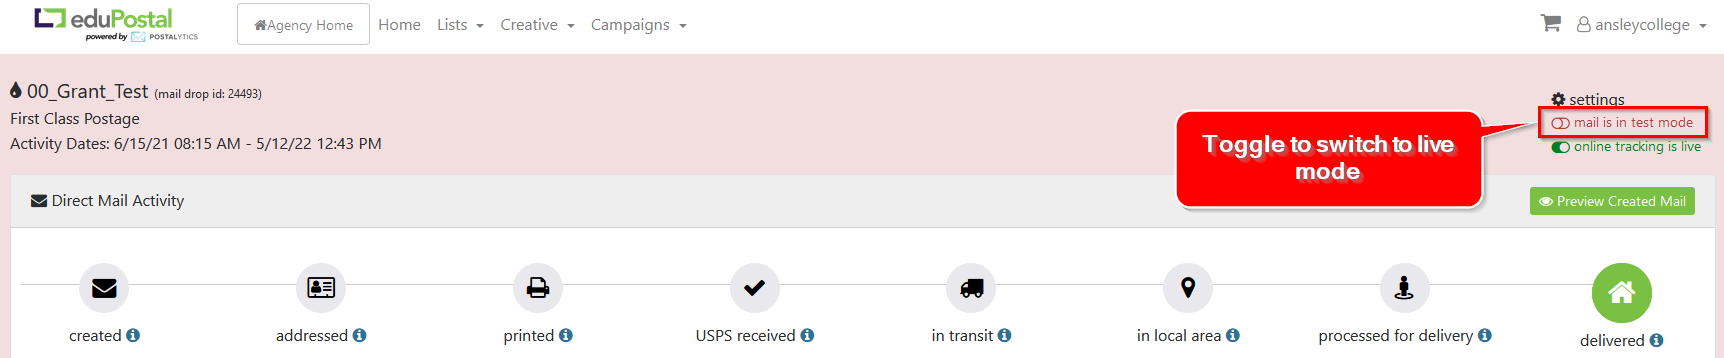
When you’re done testing and ready to go live, just toggle the eduPostal Campaign to “live mode”. If you need direct mail credits (minimum 100 to start a campaign), you’ll be prompted to purchase them first, then you can toggle the campaign to live mode.
Add a New Action To Your eduCRM Automation
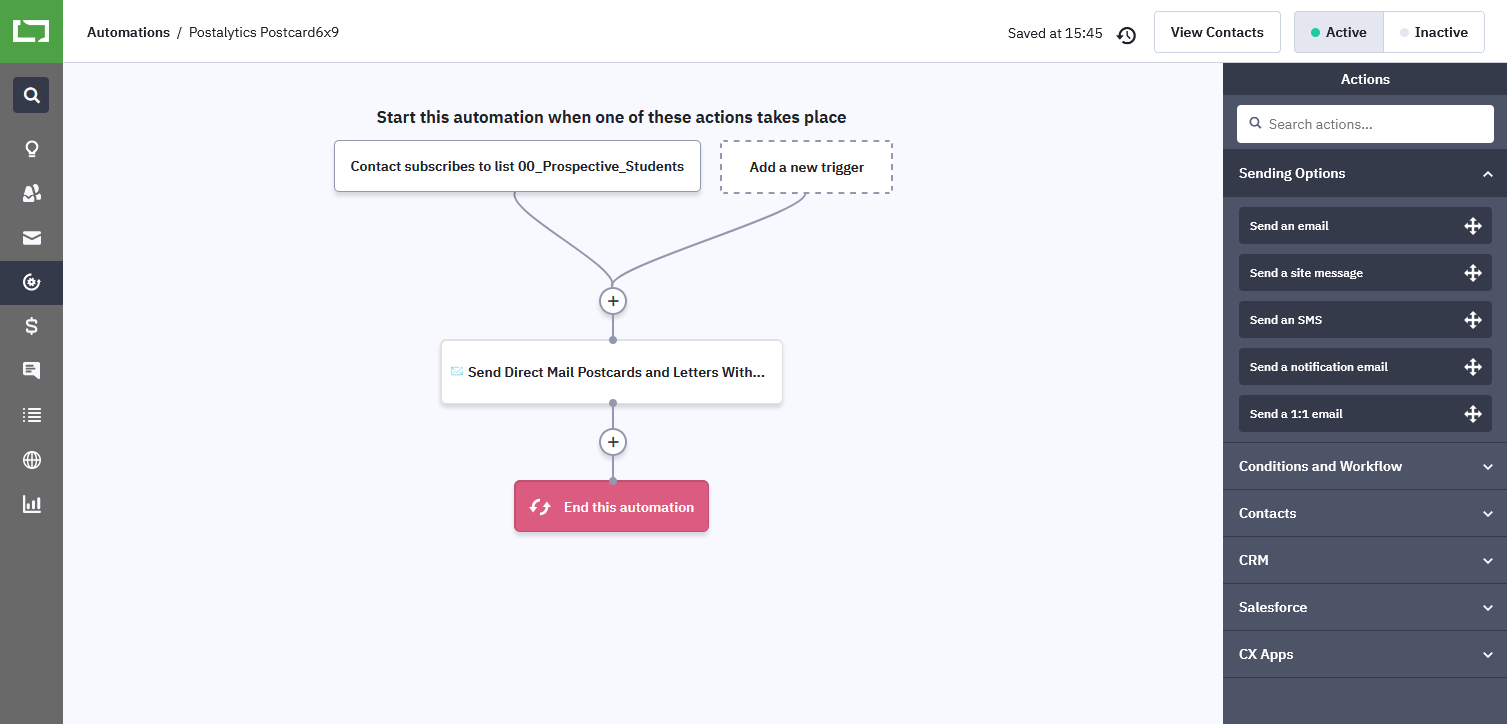
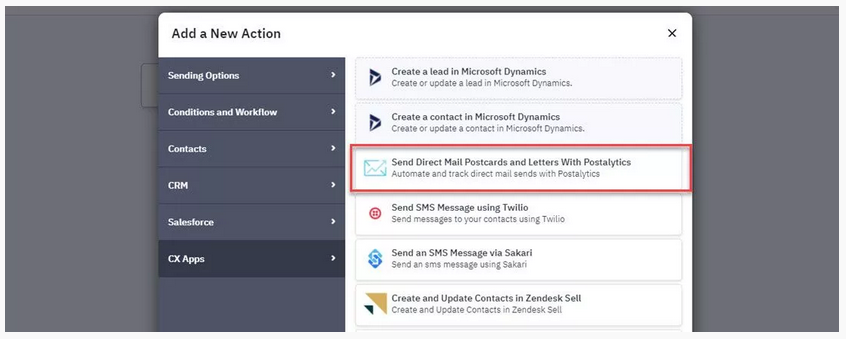
Next, open up your eduCRM Automation, set your trigger, then click the plus sign to “Add an Action” to indicate that you want to trigger a mailpiece. Scroll down the right hand panel to “Postalytics” and select “Send Direct Mail Postcards and Letters with Postalytics” in the “CX Apps” section.
4 Simple Steps To Connect eduCRM Automations To Your eduPostal Campaign
In order for the mailers to be properly formatted, you must “map” the data fields between your eduCRMContacts and your eduPostal Triggered Drip Campaign. This will enable the proper name and mailing information to be delivered to eduPostal, along with any personalization data that you’re template is using to drive a personalized mail experience.
Connect Your Account
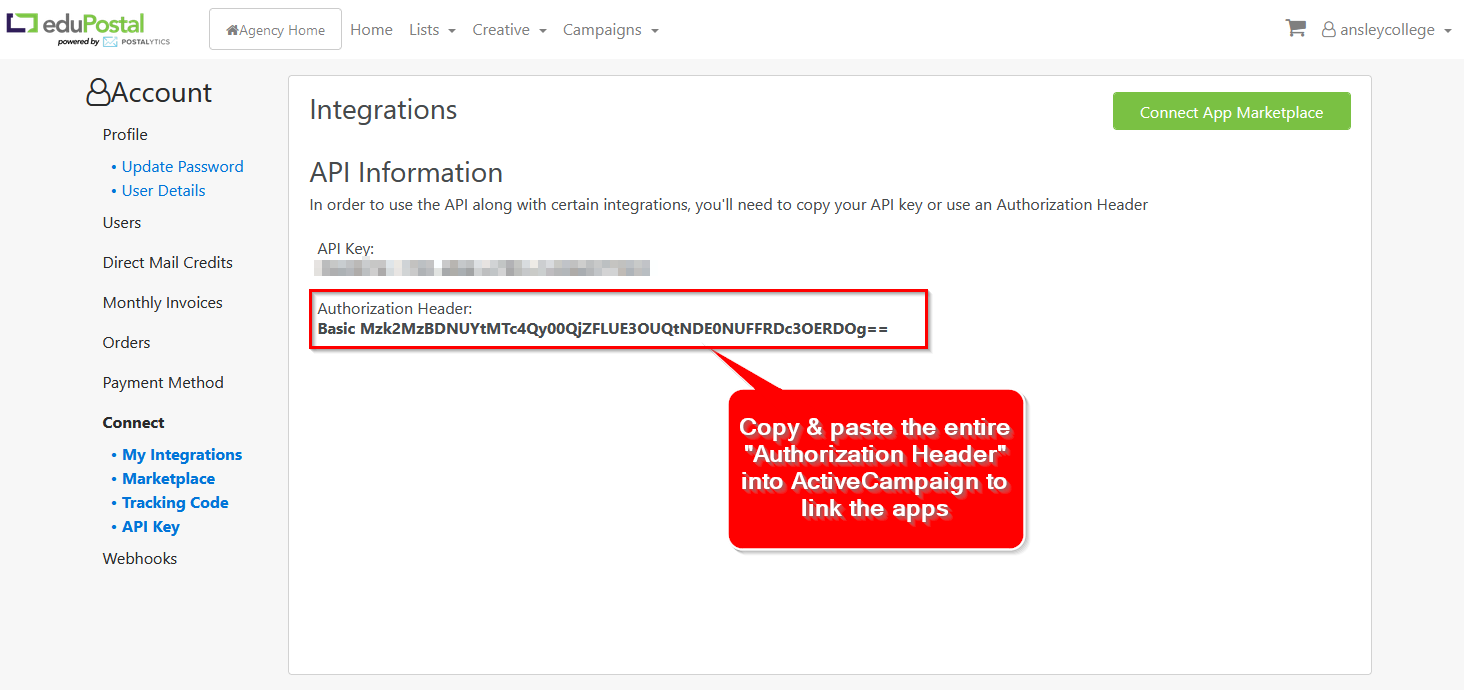
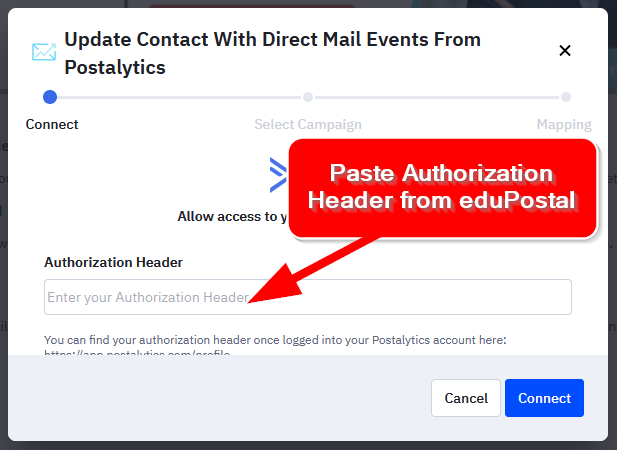
If this is the first time you’ve used the eduCRM eduPostal integration, you’ll need to “Connect New Account” to create the link between the two apps. Just click “Connect New Account” and copy/paste the “Authorization Header” from the bottom of your eduPostal Profile page:
If you’ve already entered your Authorization Header, proceed by clicking “Select."
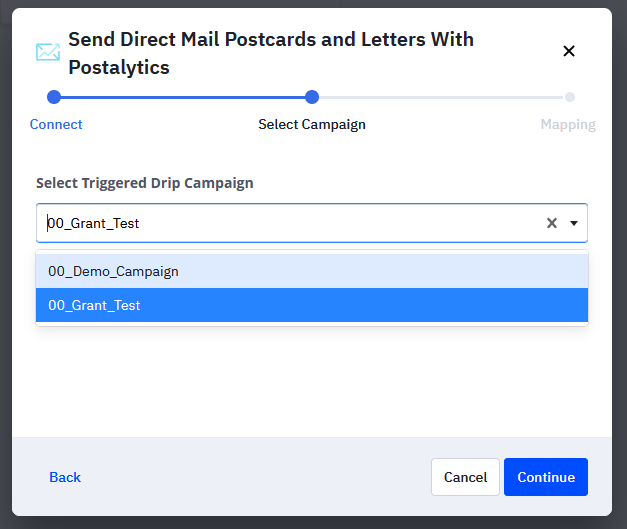
Select eduPostal Triggered Drip Campaign
Next you’ll Select the eduPostal Triggered Drip Campaign you’re using in this automation. It is important to choose the right campaign, for obvious reasons.
Map eduCRM Contact Fields To eduPostal Fields
And finally, you “Map” your eduCRM fields to the corresponding eduPostal fields.
Note: We highly recommend mapping “Email” in eduCRM to “Email address” in eduPostal. This will enable you to later use eduPostal Delivery and Response Events in additional eduCRM Automation steps.
If you want to set up your eduCRM Contacts and Automations to consume eduPostal Event Codes (to do things like trigger other automations upon mail delivery or upon response, etc.), we’ve built this help doc for you:
Note 2: At a minimum, First Name, Last Name, Address, City, State and Zip Code fields must be mapped. These are the minimum required to mail. You can map up to 10 personalization fields to “Var Field 1-10”.
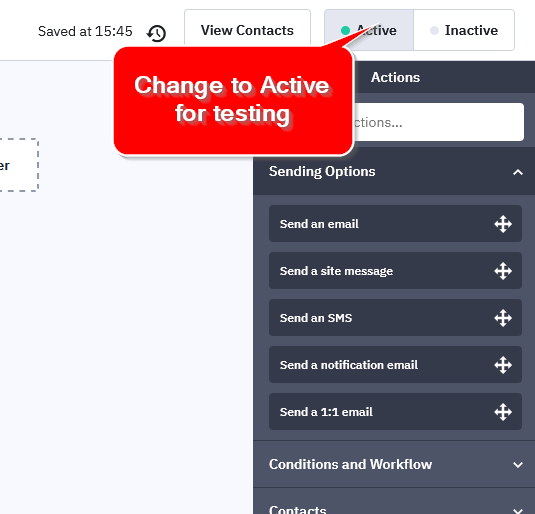
Change Your Automation Status To “Active”
In order to test your automation, change the status to “Active” from “Inactive”. You’ll be able to trigger one or more test contacts as a result.
Trigger Test Contacts And Review In eduPostal Campaign Test Mode
Now, you’re ready to fire off some test contacts and make sure that they’re properly rendering in eduPostal. As mentioned, your campaign should be in “Test Mode” so that you don’t actually print and mail these tests.
In order to test, you’ll need to initiate the “Start” or Trigger of the automation.
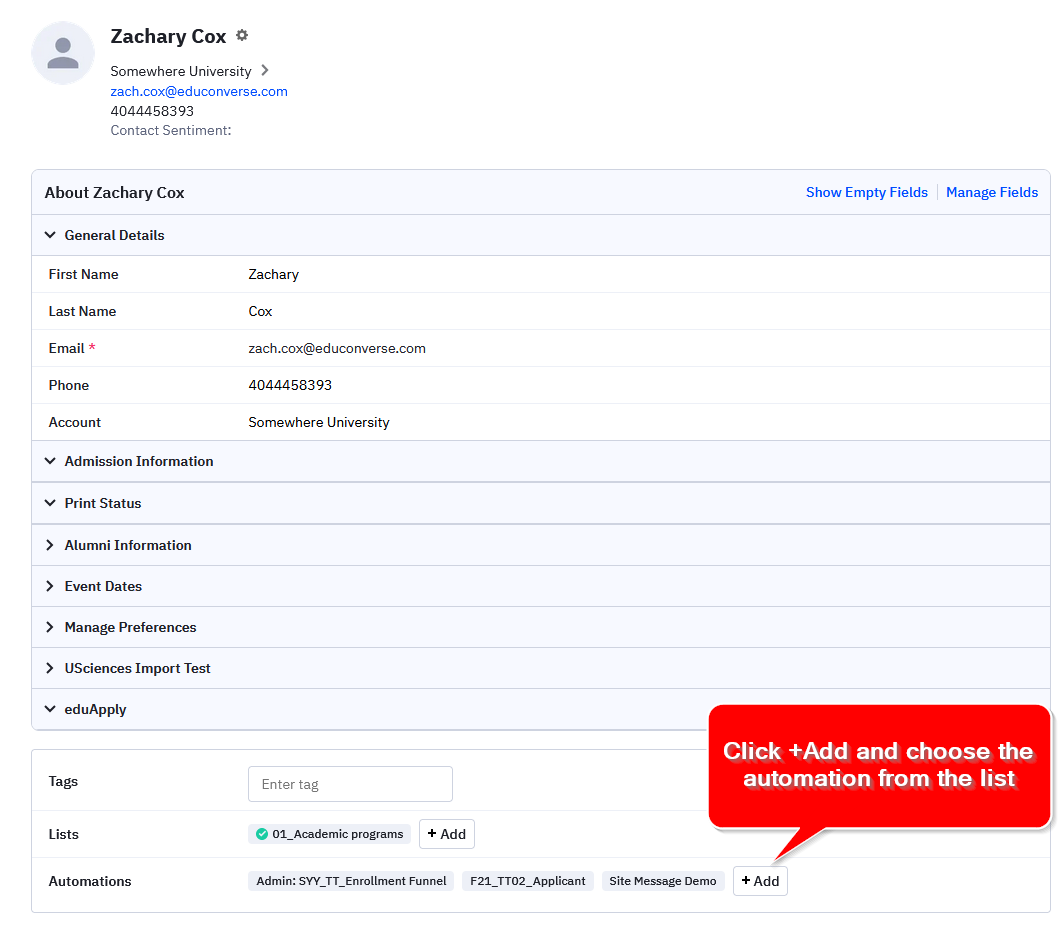
In this case, we’ll manually add the contact to the automation:
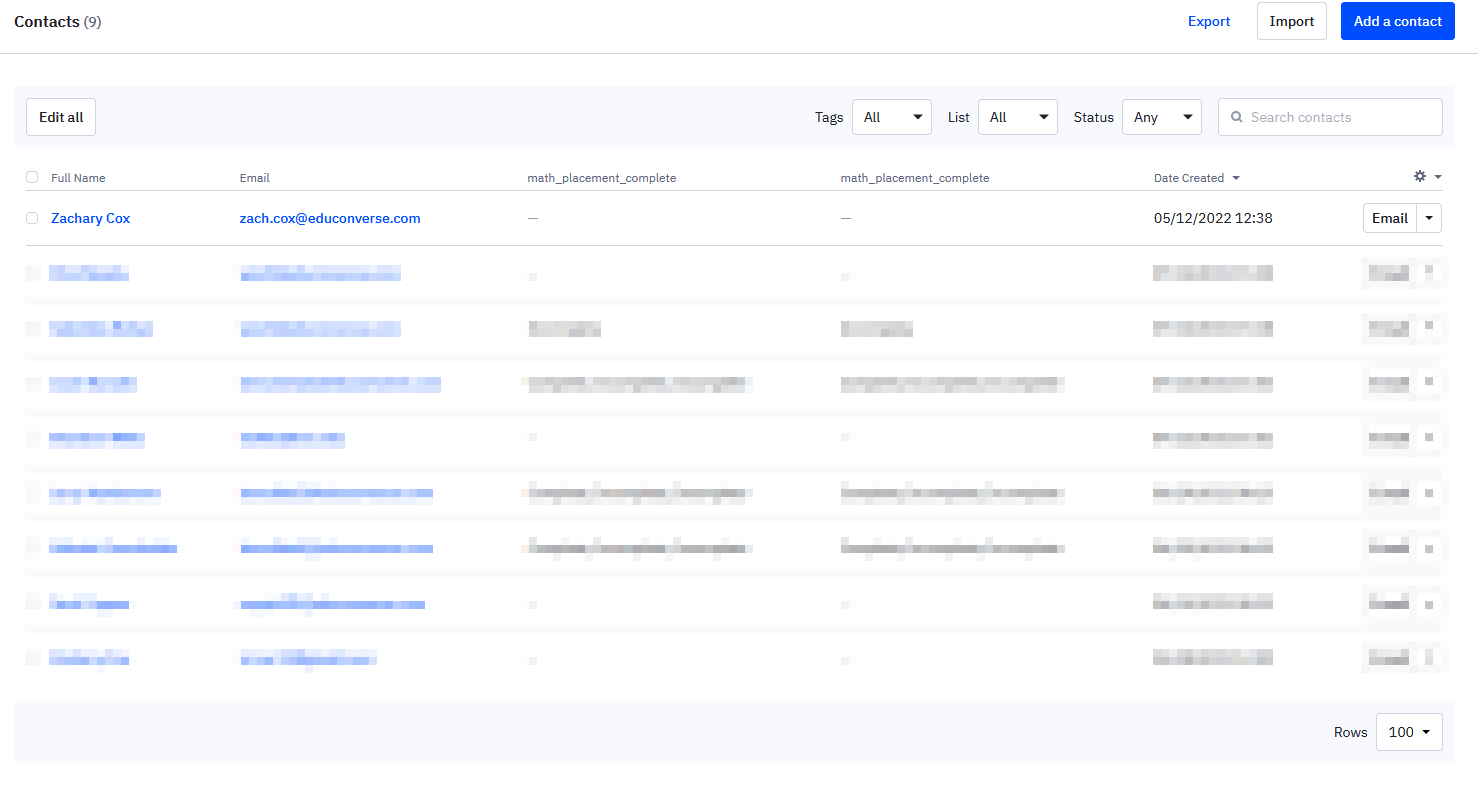
Within a few minutes, we can see that the automation processed Sally’s record by clicking “View Contacts” in the upper right hand corner of the Automation:
Next, we’ll check to see if the contact information properly posted to the eduPostal Triggered Drip Campaign.
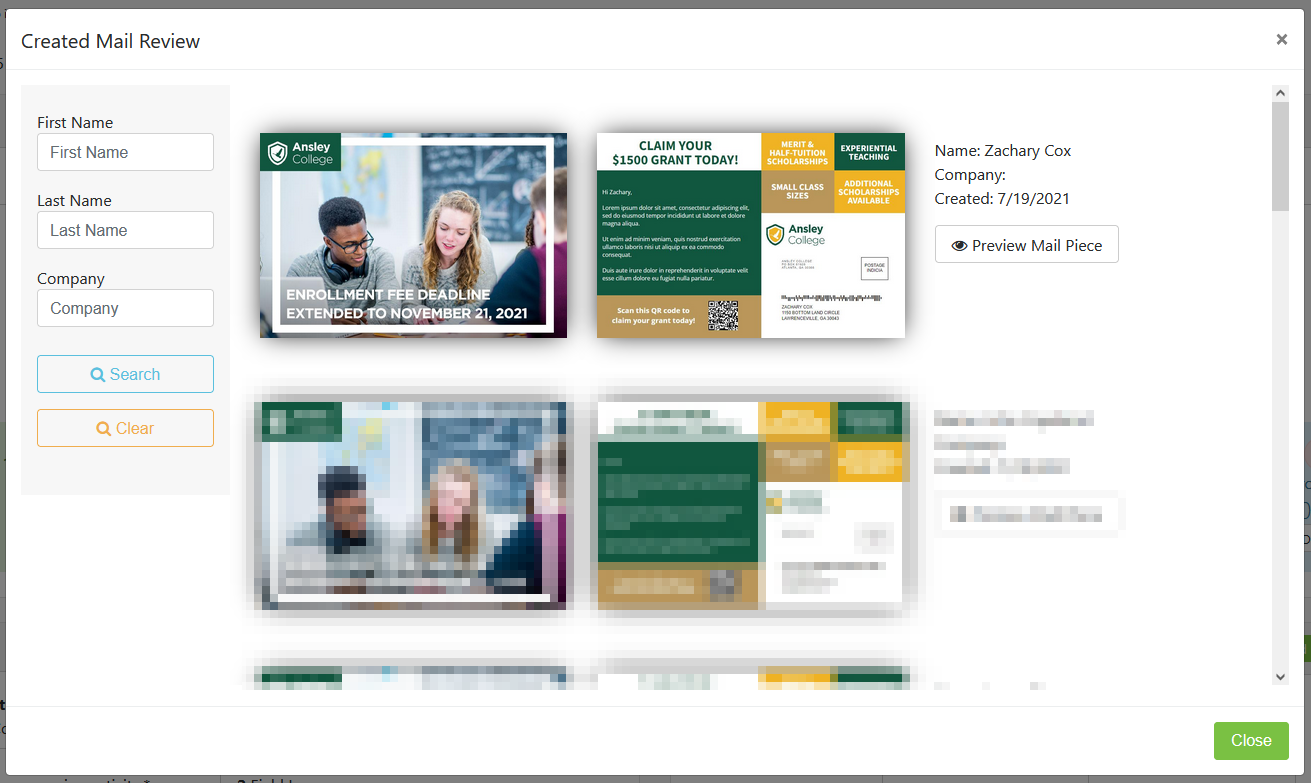
Open up the Triggered Drip Campaign Dashboard by clicking on the “Test Mode” button, then click “Preview Created Mail” in the upper right hand corner.
If you see a mailer, that means that the test record was passed through to eduPostal. You can click on “Preview Created Mailpiece” to pull up a full PDF of the mailer.
When you’re happy with the results, you can flip your eduPostal Triggered Drip campaign to Live Mode, and then purchase your Direct Mail Credits, if needed.
To Turn Your Campaign “Live” You Need Credits
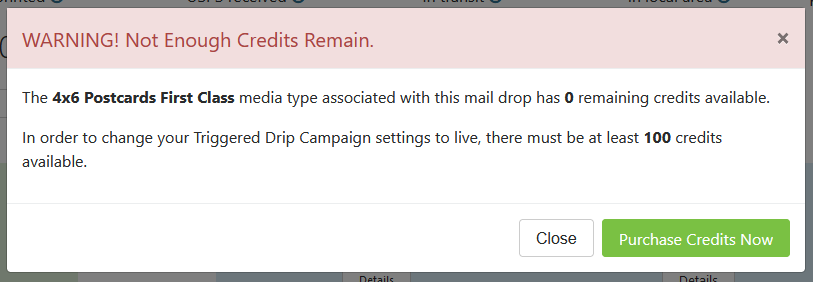
Before your campaign can be turned live, you’ll need to have at least 100 Direct Mail credits for the format that you’ve chosen. (By format, we mean the creative format/postage combination, such as 4×6 First Class, 6×9 Standard, Bi-Fold Mailers or Custom Envelopes). If you already have credits, your campaign will seamlessly turn live.
If you don’t have at least 100 credits, you’ll need to purchase them. A pop up window will appear when you use the toggle to switch to live mode from the Campaign Dashboard. if you do not have enough credits. Select “Purchase Credits Now” and proceed with the steps to purchase credits.
Once live, your campaign will “listen” for your Automation tool to trigger it, and send the postcard or letter you’ve chosen to each recipient with no further interaction. You can just sit back and relax while the campaigns keep rolling along.